Are you eager to take the reins of car detailing and achieve professional-level results right at home? In this blog post, we’ll provide you with expert tips and techniques for DIY car detailing. Get ready to roll up your sleeves and give your car the love and care it deserves.
Gather the Right Tools and Products: Before diving into DIY car detailing, it’s essential to have the right tools and products at your disposal. Invest in high-quality microfiber towels, soft wash mitts or sponges, a variety of brushes for different surfaces, and detailing clay for removing contaminants. Additionally, stock up on car wash soap, wheel cleaner, interior cleaner, glass cleaner, and a suitable wax or sealant for protection.
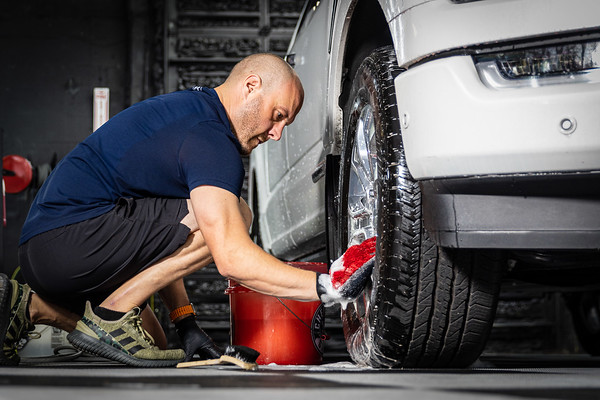
Start with a Thorough Exterior Wash: Begin your DIY detailing journey with a thorough exterior wash. Use a pH-neutral car wash soap and a two-bucket method to minimize the risk of introducing swirl marks or scratches. Pre-soak your vehicle to loosen dirt and grime, and use separate buckets for rinsing your wash mitt to avoid cross-contamination. Work from top to bottom, including the wheels and tires, and rinse thoroughly to ensure a spotless finish.
Tackle Paint Contamination with Clay Bar: To achieve a truly clean surface, it’s important to remove contaminants that washing alone may not eliminate. Detailing clay is a useful tool for this task. Follow the instructions provided with the clay bar and use a lubricant spray to gently glide the clay over the paint, effectively removing embedded contaminants such as tar, tree sap, and industrial fallout. The result will be a smooth and clean surface ready for further detailing.
Restore Shine with Polishing and Waxing: Once your car’s paint is clean and free from contamination, you can move on to polishing and waxing. Polishing helps remove light swirl marks, oxidation, and minor imperfections, while waxing or applying a sealant adds a protective layer and enhances shine. Use a dual-action polisher or hand applicators for polishing, and follow the manufacturer’s instructions for wax or sealant application. Take your time and work in small sections for optimal results.
Pay Attention to Interior Detailing: A complete DIY car detailing job should also include thorough interior cleaning. Start by vacuuming the carpets, seats, and floor mats to remove loose dirt and debris. Use appropriate interior cleaners for surfaces such as vinyl, leather, plastic, and fabric. Pay attention to areas prone to buildup, such as door panels, dashboard, and center console. Finish with a thorough window cleaning using a streak-free glass cleaner.
Don’t Forget the Finishing Touches: To truly elevate your DIY car detailing, focus on the finishing touches. Apply a high-quality tire dressing to give your tires a glossy appearance. Clean and dress exterior trim and moldings using suitable products to restore their original luster. Finally, ensure your windows and mirrors are crystal clear by using a glass cleaner and lint-free microfiber towels.
Maintain Regularly: To keep your car looking its best between detailings, establish a regular maintenance routine. Regularly wash your vehicle using proper techniques and products. Consider using a quick detailer spray for light touch-ups and to enhance shine. Also, pay attention to the interior by vacuuming regularly and wiping down surfaces as needed. Consistent maintenance will help prolong the effects of your DIY detailing efforts.
Remember, patience and attention to detail are key when undertaking DIY car detailing. Take your time, follow proper techniques, and enjoy the rewarding experience of transforming your vehicle’s appearance right in your own driveway. With the right tools, products, and our expert tips, you’ll achieve professional-level results and be the envy of the neighborhood.

